Text to Image: A Simple Guide
A clear walkthrough of turning a written description into an image, from prompt to style to ratio to refining the result.
On this page
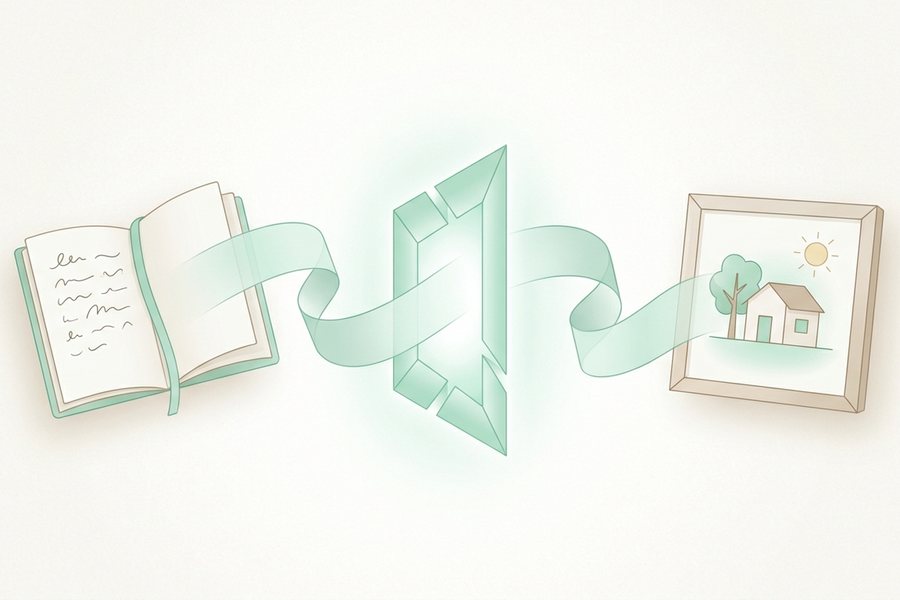
Text to image is the most common way to create AI art. You describe a picture in words, and the tool builds it for you in seconds.
Quick answer
Text to image takes a written description and turns it into a picture. You write a prompt that names the subject, setting, and mood, then choose a style and frame shape. The tool generates an image, and you refine it by adjusting the wording or running it again until the result fits your idea.
What to put in a prompt
A good prompt answers a few simple questions: what is the main subject, where is it, and how should it feel? Cover those, and you are most of the way there.
Start with the subject, add the setting, then describe the mood and style. Keep each idea short and clear. For deeper tips, see our notes on how to write AI image prompts, which break each part down with examples.
| Prompt part | Example phrase |
|---|---|
| Subject | A golden retriever puppy |
| Setting | Sitting in tall green grass |
| Mood | Bright and cheerful |
| Style | Soft photo with warm light |
| Frame | Wide landscape view |
Picking a style
Style sets the whole feel of your image. The same subject can look like a photo, a painting, a sketch, or flat cartoon art depending on the words you choose.
Pick a style that fits where the image will be used. A clean flat look suits slides and icons, while a soft photo style suits blog headers and social posts. Name the style plainly, like "watercolor painting" or "simple line drawing," so the tool knows what you want.
Choosing an aspect ratio
The aspect ratio is the shape of the frame. A square works well for many social feeds, a wide frame fits banners and headers, and a tall frame suits phone screens and stories.
Choose the ratio before you generate, since the shape changes how the tool arranges the scene. Our guide to the best AI image aspect ratios matches common shapes to common uses, so you can pick with confidence. You can set all of this inside the text to image tool before you click generate.
Refining your results
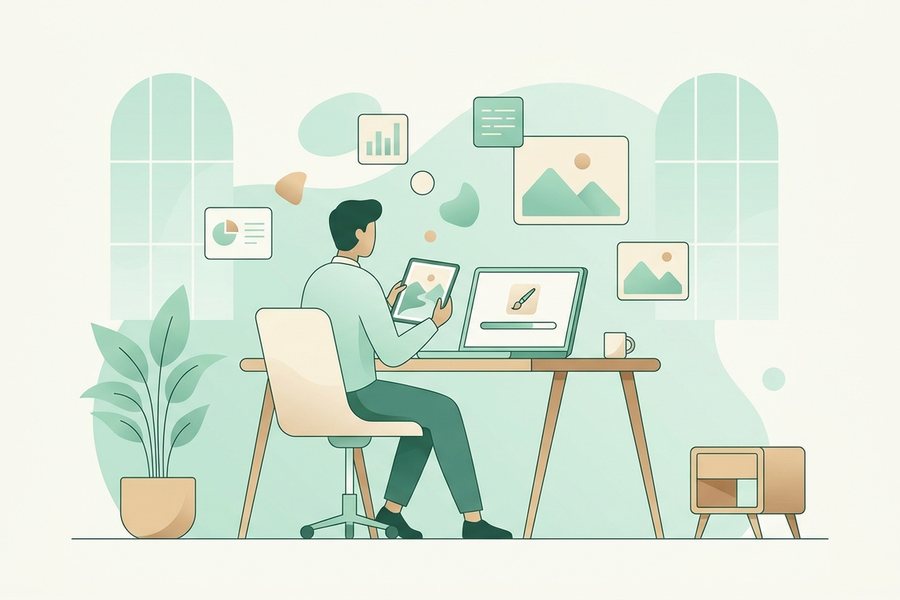
The first image rarely lands perfectly, and that is normal. Refining is part of the process and usually takes only a few small steps.
Change one thing at a time so you can see what each edit does. If the mood is off, adjust the mood words. If an unwanted object keeps showing up, you can steer the tool away from it using negative prompts, which tell it what to leave out. Generate a few versions and keep the prompt that worked.
Common mistakes to avoid
A few habits trip up new users. Knowing them ahead of time saves you time and frustration.
- Cramming too many ideas into one prompt
- Forgetting to name a clear main subject
- Picking the wrong frame shape for the final use
- Rewriting the whole prompt instead of tweaking one part
- Expecting perfect text or exact counts inside the image
Checklist
- Name the main subject first and clearly
- Add the setting and the mood next
- Choose a style that fits the final use
- Set the aspect ratio before generating
- Generate a few versions to compare
- Refine by changing one detail at a time
- Save the prompt and settings that worked
Example prompts
These prompts follow the subject, setting, mood, and style pattern. Copy one and adjust a single word to see how the picture changes.
A steaming cup of coffee on a wooden desk, morning light through a window, calm and cozy mood, soft photo style, square frame

A paper airplane flying over a city skyline, bright blue sky, playful mood, clean flat illustration, wide landscape frame

A potted cactus on a shelf, plain white wall behind it, simple and modern mood, minimal photo style, tall portrait frame
Run one, check the result, then refine until it matches your idea.
FAQ
How long should a prompt be?
Long enough to name the subject, setting, mood, and style, but no longer. One or two clear sentences usually works better than a long, crowded list.
Can I get the exact same image twice?
Not usually, since each run starts from random noise. Keeping your prompt and settings the same makes results similar, though rarely identical.
What if the tool ignores part of my prompt?
Try moving that detail earlier in the prompt or stating it more plainly. Cutting other words can also help the tool focus on what matters most.
Should I pick the ratio before or after generating?
Pick it before. The frame shape changes how the scene is arranged, so setting it first saves you from regenerating later.
This guide is general information to help you create better images. For rights and commercial questions, read the copyright and image rights notes.