How Image Upscaling Works
A clear look at how upscaling adds pixels and detail, how AI upscaling beats a plain resize, and when to use 2x, 4x, or 8x.
On this page
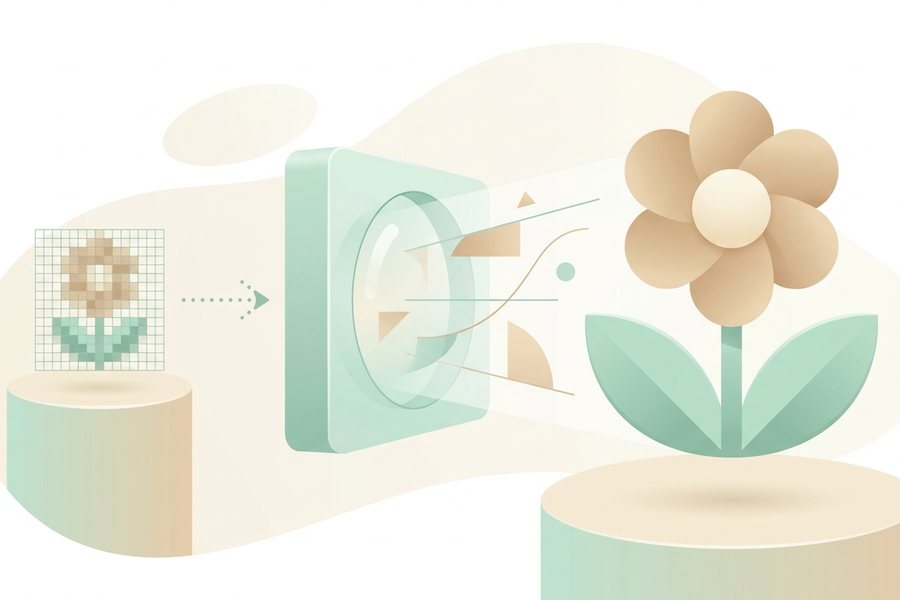
Upscaling makes a small image bigger without turning it into a blurry mess. The trick is in how those extra pixels get filled in, and that is where AI changes the game.
Quick answer
Upscaling increases an image's width and height by adding new pixels. A plain resize stretches what is already there, which looks soft and blocky. AI upscaling instead predicts believable detail for the new pixels, so edges stay crisp and textures look natural even at 2x, 4x, or larger.
Visible detail recovered by upscale factor
AI upscaling rebuilds edges and texture. Gains taper off and depend on the source quality.
Resize versus AI upscaling
A simple resize is math. The tool spreads the original pixels across a larger grid and guesses the in-between colors by averaging nearby ones. This is fast, but it cannot invent detail that was never captured, so the result often looks smudged.
AI upscaling works differently. It has studied millions of images and learned what hair, skin, brick, fabric, and text usually look like. When it enlarges your picture, it rebuilds fine detail based on those patterns. The output is sharper and more lifelike, though it is an informed guess rather than a perfect recovery of lost data.

How AI fills in the pixels
Think of the original image as a low-detail sketch of a scene. The model studies the shapes and textures it can see, then paints in the missing detail at full size. It sharpens edges, smooths noise, and rebuilds texture all at once.
| Stage | What happens |
|---|---|
| Read | The model scans the small image for shapes and textures |
| Predict | It estimates what fine detail belongs in each area |
| Rebuild | It draws crisp edges and natural texture at the new size |
| Clean | It reduces blur and noise so the result looks smooth |
This is why a good upscaler can turn a tiny thumbnail into a usable photo, while a basic stretch cannot. The model is adding plausible detail, not just spreading old pixels thinner.
Choosing 2x, 4x, or 8x
The number tells you how much bigger the image gets on each side. A 2x upscale doubles the width and height, so a 500 by 500 image becomes 1000 by 1000. A 4x makes it four times wider and taller, and 8x is eight times.
Pick the smallest factor that meets your need. Higher factors ask the model to invent more detail, which raises the chance of soft or odd-looking areas, especially on faces and text. For most jobs, 2x or 4x gives the cleanest result. Save 8x for very small source images where you have no better option.

When upscaling helps
Upscaling shines when you have a good image that is simply too small. Common cases include preparing a photo for print, enlarging an old picture, or scaling an AI generation up to a higher resolution for a banner. If the source is sharp to begin with, the result will look great.
Upscaling cannot fix everything. It will not recover detail from a heavily blurred or badly compressed file, and it is not the same as fixing color or sharpening a soft photo. For those goals, read our image enhancement guide, which covers cleanup tasks that go beyond size. It also helps to start with the right shape, so our notes on the best AI image aspect ratios can save you a crop later.
Checklist
- Start with the sharpest source image you have
- Decide the final size you actually need
- Pick the smallest factor that reaches that size
- Use 2x or 4x for faces and text when possible
- Check edges and skin closely after upscaling
- Export in a format that fits the use
- Save the original in case you want to redo it
Example
Here is a simple recipe for taking a small AI image up to print size. Adjust the factor to match your starting resolution.
Source: 768 x 768 AI image
Goal: a clean 3000 px wide print
Step 1: Upscale 4x to 3072 x 3072
Step 2: Inspect faces and text at 100 percent
Step 3: If text looks soft, redo at 2x and tile if needed
Step 4: Export as PNG for print, or WebP for web
Before: a 768 px image that looks soft when enlarged. After: a crisp 3072 px image with clear edges and natural texture. Picking the right export matters too, so weigh your choices with our look at png vs jpg vs webp. When you are ready, the image upscaler tool handles the heavy lifting in one step.
FAQ
Does upscaling reduce quality?
No. A good AI upscaler increases size while keeping or improving sharpness. The risk is asking for too large a factor, which can make invented detail look unnatural.
Can upscaling fix a blurry photo?
Only a little. Upscaling adds size and crispness, but it cannot recover detail that the blur destroyed. A lightly soft image improves, while a heavily blurred one stays imperfect.
Is 8x always better than 2x?
No. A higher factor forces the model to guess more, which can add odd artifacts. Use the smallest factor that reaches your target size for the cleanest result.
What size should I upscale to?
Match the final use. Web headers rarely need more than about 2000 px wide, while prints often want 3000 px or more, so plan the target before you choose a factor.
This guide is general information to help you create better images. For rights and commercial questions, read the copyright and image rights notes.