Image to Image: A Simple Guide
Learn what image to image is, when to use it over text to image, and how a source image plus a prompt guides the result.
On this page
Image to image starts from a picture you already have, not from a blank canvas. You give the tool a source image and a prompt, and it reshapes that image to match your words.
Quick answer
Image to image takes an existing picture plus a text prompt and produces a new version of it. The source image sets the starting shapes and layout, while the prompt guides the changes you want, such as a new style, color, or mood. A strength setting controls how much the result stays close to the original or moves toward your prompt.
How it works
Instead of beginning with random noise, the tool begins with your source image. It adds some noise to that image, then cleans it back up while following your prompt. The result keeps the rough shape of the original but takes on the new look you described.
This is why image to image feels more controlled than starting from scratch. You are giving the tool a head start, so it does not have to invent the whole layout. If you are new to prompts in general, our text to image guide covers the basics that still apply here.
When to use it over text to image
Text to image is best when you start with only an idea. Image to image is best when you already have a picture and want to change it while keeping its basic shape.
| Situation | Better choice |
|---|---|
| You only have an idea in your head | Text to image |
| You have a photo and want a new style | Image to image |
| You like a layout but want a new mood | Image to image |
| You want a brand new scene from scratch | Text to image |
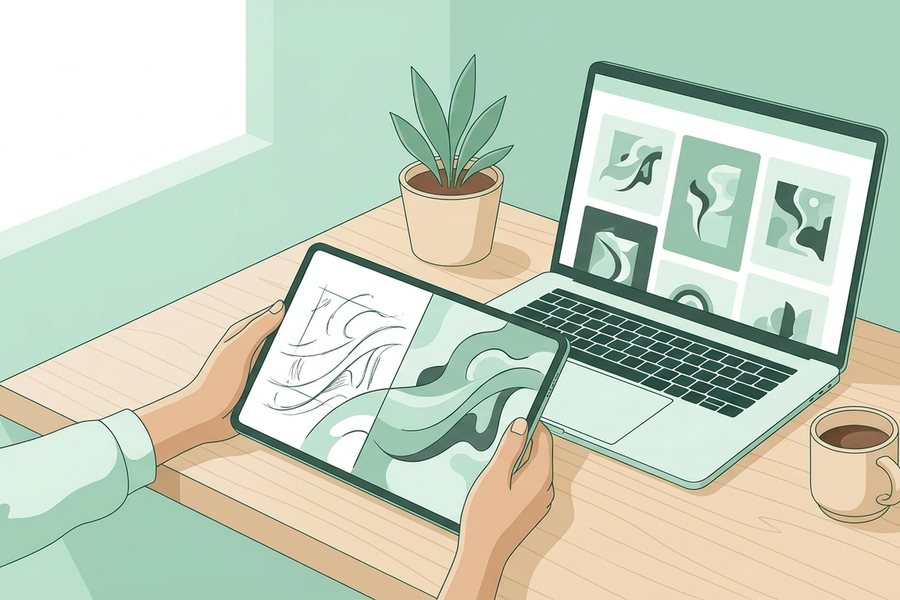
| You want to restyle a sketch or doodle | Image to image |
The strength setting
Strength, sometimes called denoise, is the most important control in image to image. It decides how far the result drifts from your source.
A low strength keeps the output very close to the original, with only small changes. A high strength gives the prompt more freedom, so the result can look quite different. Start in the middle, see how it lands, then adjust. If you only want a light touch, lower the strength so the source stays recognizable.
Practical tips
A few habits make image to image easier and more predictable. The biggest one is to change a single setting at a time so you can see its effect.
- Use a clean, clear source image for best results
- Keep your prompt focused on the change you want
- Start with a medium strength and adjust from there
- Match your prompt style to the look you are after
- Run a few versions and compare them side by side
If your goal is sharper output rather than a new style, you may want a different tool. Our notes on how image upscaling works explain when to enlarge instead of restyle. And if you only need to drop the background, our background removal guide covers that simpler job.
Common uses
People reach for image to image when they want to build on something rather than start over. It saves time and keeps a layout you already like.
Typical jobs include turning a rough sketch into a polished picture, giving a plain photo a painted look, swapping the mood of a scene from day to night, and refreshing an old image with a new color palette. In each case the source image holds the structure while the prompt does the styling.
Checklist
- Pick a source image with a clear subject and layout
- Decide what single change you want to make
- Write a short prompt focused on that change
- Set strength to medium, then adjust up or down
- Keep the original if you want to compare results
- Generate a few versions before choosing one
- Save the strength and prompt that worked best
Example
Here is a source plus prompt setup you can adapt. The note shows how each part shapes the output.
Source: a plain daytime photo of a quiet street
Prompt: the same street at night, warm streetlamp glow, soft rain, calm mood, photo style
Strength: medium
The source keeps the street layout, the prompt shifts it to a rainy night scene, and the medium strength balances the original shape with the new mood. You can try this in the image to image tool and tune the strength until it feels right. For one targeted change instead of a full restyle, try Magic Edit or Color Replace; to push a photo fully into a new art style, use Restyle.
FAQ
Does image to image keep my original photo?
The tool creates a new image and leaves your source file untouched. Save both so you can compare the original with the result.
What strength should I start with?
Start near the middle and adjust from there. Lower it to stay close to the source, or raise it to let the prompt change more.
Can I use a rough sketch as the source?
Yes, a sketch works well as a starting layout. A higher strength helps the tool turn loose lines into a more finished picture.
Why does my result look too different?
Your strength is probably set too high, which gives the prompt too much freedom. Lower it so more of the source structure stays in the result.
This guide is general information to help you create better images. For rights and commercial questions, read the copyright and image rights notes.