AI Image Enhancement Guide
What AI enhancement does to sharpen, de-noise, boost color, and restore face detail, when each step helps, and how it differs from upscaling.
On this page
Enhancement cleans up an image you already have instead of making a new one. It sharpens soft areas, removes grain, lifts color, and rebuilds fine detail so the picture looks its best.

Quick answer
AI image enhancement improves the quality of an existing image. It can sharpen blur, reduce noise and grain, boost flat color, and restore detail in faces. Unlike upscaling, which makes an image larger, enhancement focuses on making the pixels you already have look cleaner and clearer at the same size.
What each enhance mode improves most
Pick the mode that targets your image's main problem instead of pushing every slider.
What enhancement actually does
Enhancement is a set of cleanup steps, and a good tool runs them together. Each step targets a different flaw, so the result depends on what your image needs.
Sharpening rebuilds soft edges so lines and textures read clearly. De-noising removes the speckled grain you often see in low-light or phone photos. Color boost lifts dull, washed-out tones into something richer without going neon. Face restoration is the most striking step, since the model knows what eyes, skin, and hair should look like and can repair fuzzy faces with surprising accuracy.

When each step helps
You rarely need all four at once. Matching the step to the problem keeps the result natural and avoids overprocessing.
| Problem | Step that helps |
|---|---|
| Soft or slightly out-of-focus | Sharpening |
| Speckled grain in dark areas | De-noising |
| Flat, dull, or faded colors | Color boost |
| Fuzzy or smeared faces | Face restoration |
| Old or scanned photo | De-noising plus face restoration |
Start with the flaw that bothers you most. If a photo is grainy and dull, de-noise first, then judge the color. Fixing one issue often changes how the others look.
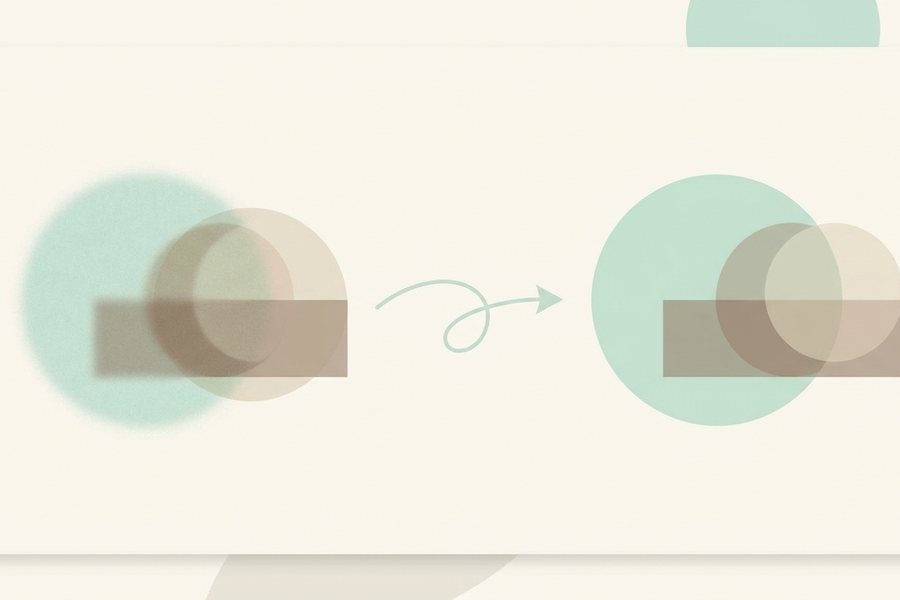
How it differs from upscaling
People mix these two up, but they solve different problems. Enhancement improves quality at the current size. Upscaling increases the size by adding pixels. You can do both, and the order matters.
When an image is small and soft, enhance first to clean it, then enlarge. When an image is large but grainy, you may only need enhancement. For the full picture on enlarging, see our notes on how image upscaling works, which explain why AI adds better detail than a plain stretch. Good source material also helps before you ever enhance, and clear, well-aimed prompts are covered in our tips on writing better prompts.
Avoiding the overdone look
Enhancement can go too far. Crank sharpening and color all the way up, and the image starts to look fake, with halos around edges and skin that glows. The goal is a clean version of the same photo, not a different one.
Apply changes in small amounts and compare against the original often. If skin looks plastic, ease off face restoration. If edges have bright outlines, reduce sharpening. Subtle wins. A viewer should notice the image looks good, not that it was processed. Some images need shape changes too, and removing a busy backdrop is covered in our background removal guide.
Checklist
- Identify the single biggest flaw first
- De-noise before you sharpen on grainy photos
- Boost color in small steps, not all at once
- Use face restoration only when faces look fuzzy
- Compare against the original after each change
- Enhance first, then upscale if you need more size
- Export at the quality the final use needs
Example
Here is a settings recipe for a common case: a grainy, dull phone photo with a slightly soft face.
Image: low-light phone photo, faces a bit fuzzy
Step 1: De-noise at medium to clear the grain
Step 2: Sharpen lightly to recover edges
Step 3: Color boost at low, just to lift dull tones
Step 4: Face restoration at medium, then check skin
Step 5: Compare to original; ease off any step that looks fake
Before: a dim, speckled photo with a blurry face. After: clean tones, clear edges, and a natural, restored face. Run it through the image enhancer tool and adjust each step until it looks like a better version of the same shot. For a one-tap version that applies a balanced clean-up automatically, use auto retouch.
FAQ
Will enhancement make my image bigger?
No. Enhancement improves quality at the same size. If you also need more width and height, upscale after enhancing for the cleanest result.
Can it fix a very blurry photo?
Only partly. Light softness sharpens well, but heavy blur destroys detail the model cannot fully invent. Faces often improve more than backgrounds in those cases.
Does color boost change the real colors?
It deepens and brightens existing tones rather than inventing new ones. Keep it low if accurate color matters, such as for product shots or skin tones.
Should I enhance before or after editing?
Enhance after big edits like cropping or background changes, so you clean up the final composition rather than parts you plan to remove.
This guide is general information to help you create better images. For rights and commercial questions, read the copyright and image rights notes.